Everyone has an idea for a mobile app. It might be a game-changing tool for your industry, a simple utility to make life easier, or the next big social platform. But how do you take that brilliant spark of an idea and turn it into a functional, polished mobile app on someone’s device? The journey from concept to launch can seem complex, but it’s a well-defined process. This app building guide is designed to demystify that process for you.
Understanding the development journey is crucial for entrepreneurs, business leaders, and aspiring developers alike. Knowing what to expect can help you plan your project, allocate resources effectively, and make informed decisions. At StraStan, we partner with businesses to navigate this exact journey, transforming vision into reality through expert application design and development.
This overview will walk you through the essential phases of creating a mobile app, from initial strategy to post-launch maintenance, providing a clear roadmap for your project. A successful mobile app project requires careful planning.
The Foundation: Strategy and Discovery
Before a single line of code is written, a successful mobile app project begins with a solid strategy. This is the “why” behind your app. Rushing this phase is a common mistake that can lead to building an app that nobody needs or wants. This is the most important principle of any mobile app project.
This initial section involves:
- Defining the Goal: What problem does your mobile app solve? What is its core purpose?
- Identifying the Audience: Who are you building this app for? Understanding your target users’ needs and pain points is a fundamentally important principle.
- Competitor Research: What other apps are in your space? Analyze their strengths and weaknesses to find your unique value proposition.
- Monetization Strategy: How will the mobile app make money? Options include a one-time purchase, subscriptions, in-app purchases, or advertising.
- Choosing the Platform: Will you create a native app for a specific operating system (like iOS or Android), or a cross-platform app that works on both? A native app often provides better performance and a more integrated user experience.
This discovery phase provides the critical business logic that will inform every subsequent decision in the project. It’s where you define the use cases and lay the groundwork for a successful mobile app.
Planning and Architecture: The Blueprint for Your Mobile App
With a clear strategy, the next step is to create a detailed plan and technical blueprint. This is where your idea begins to take shape as a concrete project. A robust architecture is an important principle for any scalable and maintainable mobile app.
Key activities in this phase include:
- Defining an MVP (Minimum Viable Product): You can’t build every feature at once. An MVP is a version of your app with just enough features to be usable by early customers. This allows you to launch your mobile app faster and gather feedback.
- Creating Technical Specifications: This document details all the technical requirements of the project, including all the necessary functions and how they will work.
- Designing the Application Architecture: This is the high-level structure of your app. A well-planned architecture separates different parts of the application, such as the user interface and the business logic. This pattern makes the mobile app easier to build, test, and update. A good architecture is crucial for managing the data flow and ensuring the long-term health of the project. At StraStan, we specialize in designing a resilient architecture that sets your project up for success.
A solid architecture ensures that as you add new features, the app remains stable and efficient. The architecture defines how application data is managed and how different parts of the app communicate. The architecture of your mobile app is its backbone. A poor architecture can doom a project from the start. This is why focusing on architecture early is a best practice.

UI/UX Design: Creating an Engaging User Experience
This phase is all about how your mobile app looks and feels. UI (User Interface) design is the visual layout of the app—the buttons, the text, the background color. UX (User Experience) design is the overall feel of the app—how easy and enjoyable it is to use. A good design is critical for user retention.
The design process typically involves:
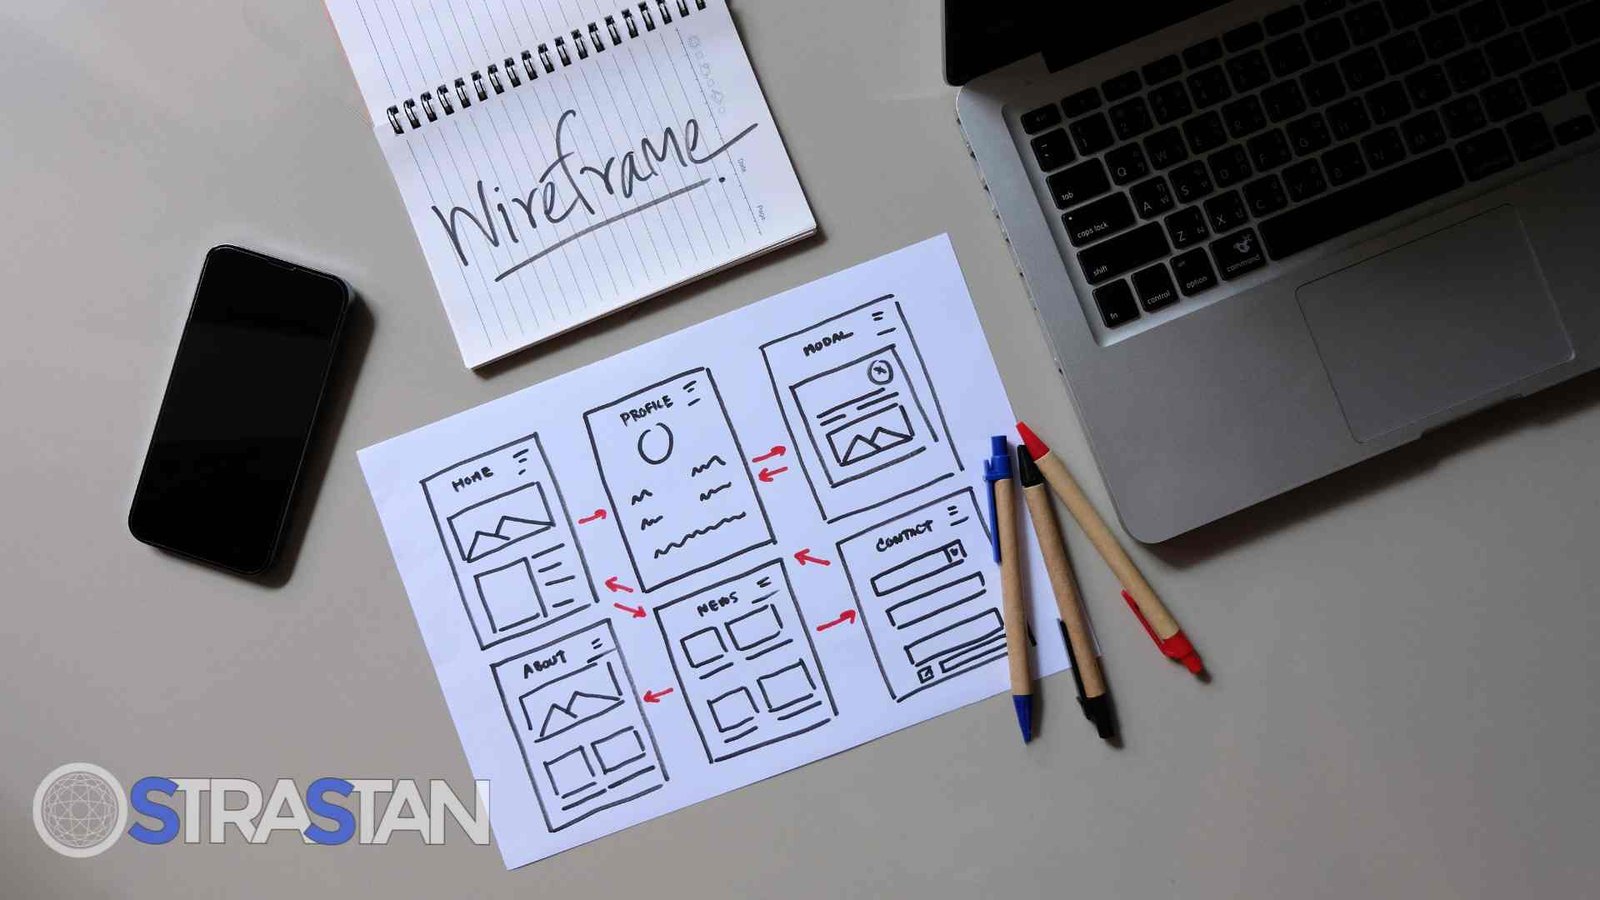
- Wireframing: Creating basic, low-fidelity layouts of each screen. This helps to establish the structure and data flow of the app without getting bogged down in visual design details.
- Mockups: High-fidelity design files that show exactly what the user interface will look like, including colors, fonts, and icons. You can experiment with a different background color or button style in this phase. The design team might present several background color options.
- Prototyping: Creating an interactive prototype that simulates user interaction. This allows you to test the app’s flow and usability before development begins. This is the best practice for validating your design choices.
A great design is intuitive and makes the app’s core functions easy to access. This is where you establish a consistent visual pattern for the entire mobile app. The design should be clean and modern. The final design will guide the developers.
Development: Bringing the Design to Life (An Android Example)
This is the phase where the actual coding happens. Developers take the design files and architecture plan and turn them into a fully functional mobile app. To make this tangible, let’s walk through a simplified example of how to create an Android app project.
Setting Up the Project in Android Studio
For building a native app for the Android operating system, the primary tool is Android Studio. Android Studio is the official integrated development environment (IDE) for Android app development, provided by Google.
To begin, you would open Android Studio and create a new project. Android Studio provides various templates to get you started, from a basic “Empty Activity” to more complex apps with pre-built navigation. Selecting a template in Android Studio sets up the initial project architecture and files.
Understanding the Project Structure and Key Files
Once you create a project in Android Studio, you’ll see a standard file architecture. Some key files and folders include:
- app > java: This is where your main application code lives. The business logic and core functions of your Android app are written here.
- app > res: The “resources” folder. This contains all non-code assets, like layout files (XML that defines the UI), images, and values (like strings and colors). For example, you would define your background color options here..
This architecture is a best practice that separates the visual design from the underlying logic. This separation is a core part of modern mobile app architecture.
Building the Business Logic and Functions
Inside the Java or Kotlin files, you’ll write the code that makes your app work. This is the business logic. For example, if you are building a calculator app, the business logic would include the functions for addition, subtraction, etc. Each function performs a specific task. Good architecture dictates that these functions should be well-organized and easy to understand. The overall project architecture will determine where these functions reside.
Managing Dependencies and Imports
No developer builds everything from scratch. Modern app development relies on using external libraries to add common functions. In Android Studio, these are managed as a dependency. A dependency is a library your project needs to compile and run. You declare each dependency in your Gradle file.
To use a function from a dependency, you must import it into your code file. An import statement tells the compiler where to find the code you want to use. For example, to use a button function, you might need an import like import android.widget.Button;. A best practice is to let Android Studio manage your import statements automatically. At the top of each file, you will see the full list of imports required for that file. Managing each dependency and import correctly is crucial. An incorrect import can break your project. You need to import the right classes. The full list of imports is generated by Android Studio. A missing import is a common error. This dependency requires a specific import. We need to import this pattern. You must import all necessary components. The full list of imports can get long. You will need to import many things for a complex mobile app.
Connecting the User Interface to Application Data
The final piece of the development puzzle is connecting the UI elements to your code. This is how user interaction triggers functions. In Android Studio, you give each UI element an ID. In your code, you find that element by its ID and then tell it what to do.
This process also involves managing the application data. Application data is any information your app needs to store, like user settings or saved content. A good architecture clearly defines the data flow—how application data moves between the UI, the business logic, and storage. You must ensure the security of this application data. This application data is vital to the app’s functions. The data flow must be efficient. The data flow is part of the architecture. The data flow determines how application data is handled.
This entire development process within Android Studio shows how a well-defined architecture and careful management of files, a dependency, and an import statement all come together to create a working Android app. The architecture of the project is key. This Android app project is a good example.

Testing and Quality Assurance: Ensuring a Flawless Mobile App
Once the mobile app is built, it’s time for rigorous testing. This phase is critical for finding and fixing bugs, ensuring the app works as expected, and delivering a high-quality experience to users. Many apps fail because of poor testing.
Types of testing include:
- Functional Testing: Does every function and feature work correctly?
- Usability Testing: Is the app easy and intuitive to use? This tests the design and user interaction pattern.
- Performance Testing: How does the app perform on different mobile devices and network conditions? Does it drain the battery?
- Security Testing: Are the application data and user information secure? This is a critical section of testing.
Deployment and Launch
With a thoroughly tested mobile app, you’re ready to launch! This involves preparing the app for submission and then publishing it to the app stores.
For an Android app, this means submitting it to the Google Play Store. The process involves creating a developer account, preparing your app listing with screenshots and descriptions, and uploading the final app file. Once approved, your mobile app will be live for the world to download. Getting your Android app on the Google Play Store is a major milestone.
Post-Launch: Maintenance and Adding New Features
The project doesn’t end at launch. A successful mobile app requires ongoing maintenance and updates. This is an important principle of the app lifecycle. Many apps are abandoned after launch, which is a mistake.
This final section of the journey involves:
- Monitoring: Tracking app performance, crashes, and user analytics.
- User Feedback: Listening to reviews and feedback to identify areas for improvement for your mobile app.
- Updates: Regularly updating the app to fix bugs, improve performance, and ensure compatibility with the latest operating system versions.
- Adding New Features: Based on user feedback and your project roadmap, you will periodically create and release new features to keep your apps relevant and engaging.
Your App Building Guide to Success
Creating a mobile app is a significant project, but by breaking it down into these distinct phases, the process becomes manageable and clear. From a robust strategy and a clean architecture to a beautiful design and thorough testing, each step is vital to success. This app building guide should help you understand the overall process.
Whether you’re building a simple utility or a complex enterprise solution, partnering with a team that understands this entire lifecycle is key. At StraStan, we provide end-to-end services, from application architecture to full-stack development and digital marketing, to help you create apps that succeed. We can help you create the mobile app of your dreams.
Ready to turn your app idea into a reality? Contact StraStan today to discuss your project!
Frequently Asked Questions (FAQs)
Q1: What’s the difference between a native app and a hybrid app? A: A native app is built specifically for one operating system (e.g., using Swift for iOS or Kotlin/Java for Android). This type of app offers the best performance and access to device features. A hybrid app is built using web technologies (like HTML5) and wrapped in a native container, allowing it to run on multiple platforms from a single codebase.
Q2: How much does it cost to create a mobile app? A: The cost varies dramatically based on the complexity of the app, the number of features, the design intricacy, and the development team’s location. A simple app can cost a few thousand dollars, while a complex project can run into hundreds of thousands.
Q3: How long does the app development project take? A: Similar to cost, the timeline depends on the project’s complexity. A simple MVP might take 2-4 months to create, while a large-scale app with many features could take a year or more.
Q4: Why is a clean architecture so important for my project? A: A clean architecture separates the code into distinct layers (like UI, business logic, and data). This makes the mobile app easier to test, debug, and update. It’s a best practice that saves significant time and money over the life of the project and is one of the following recommendations we always make. The following recommendations are based on years of experience.
Q5: What is a dependency in Android Studio? A: A dependency is an external library or module that your Android app project relies on for certain functions. For example, you might add a dependency to help with networking or image loading. You declare these in the Gradle build file within Android Studio.